Top CNC machining factories achieve flawless workpieces because they have encountered numerous CNC machining defects. These experiences have taught operators how to better shape the desired forms. Understanding CNC machining defects is not entirely negative; it can significantly aid future machining operations.
Prototool, a leading CNC machining factory in China, has summarized the causes and solutions for CNC machining defects based on past experiences. This serves two purposes: to facilitate industry knowledge exchange and to demonstrate our expertise to our clients.
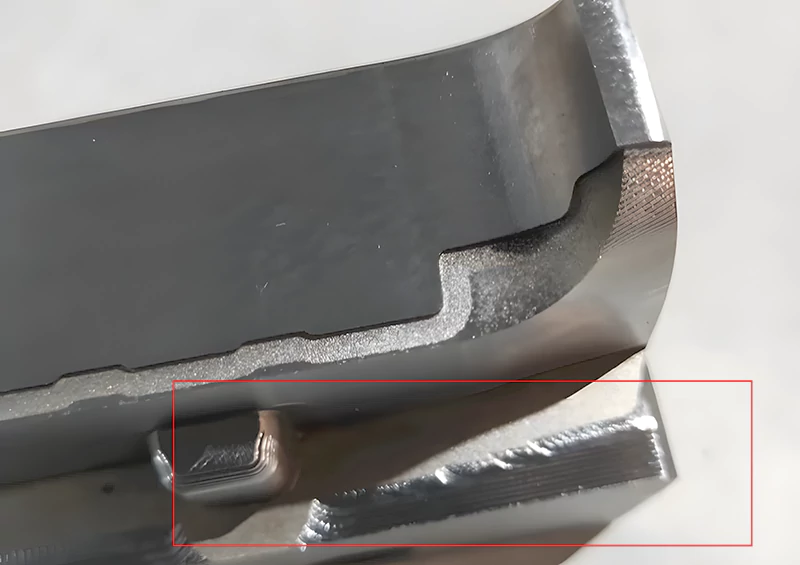
Overcutting in Workpieces
Causes:
- Tool springing due to insufficient tool strength, excessive length, or small size.
- Improper operation by the operator.
- Uneven cutting allowance (e.g., 0.5 on curved side surfaces, 0.15 on the bottom).
- Inappropriate cutting parameters (e.g., excessive tolerance, too fast SF settings).
Improvements:
- Tool Usage Principle: Prefer larger and shorter tools where possible.
- Implement a chamfering program to maintain uniform allowance (consistent allowance for side and bottom surfaces).
- Adjust cutting parameters reasonably, rounding large allowance corners.
- Utilize the machine’s SF function, allowing operators to fine-tune speed for optimal cutting.
Centering Issues
Causes:
- Inaccuracy in manual operation by the operator.
- Burrs around the mold.
- Magnetic centering rods.
- Non-vertical sides of the mold.
Improvements:
- Manual operations should be carefully checked and repeated, centering at the same point and height as much as possible.
- Remove burrs around the mold with an oilstone or file, clean with a rag, and confirm by hand.
- Demagnetize the centering rod before using it on the mold (use ceramic rods or others).
- Use a dial indicator to check the mold’s verticality (discuss solutions with the fitter if there’s significant verticality error).
Tool Setting Issues
Causes:
- Inaccuracy in manual operation by the operator.
- Incorrect tool clamping.
- Errors in the tool tip on the fly cutter (inherent inaccuracies in the fly cutter).
- Discrepancies between R-cutters, flat-bottom cutters, and fly cutters.
Improvements:
- Carefully repeat manual operations, ensuring tool setting is consistent.
- Clean the tool clamp with an air gun or rag before clamping.
- When measuring the tool rod or base surface, use a single cutter tip on the fly cutter.
- Create a separate tool setting program to avoid discrepancies between R-cutters, flat-bottom cutters, and fly cutters.
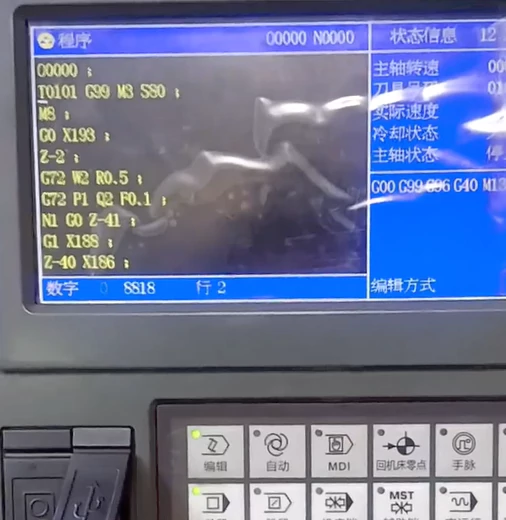
CNC Crash – Programming
Causes:
- Insufficient or unset safety height (tool or chuck collides with the workpiece during rapid feed G00).
- Mismatch between the tool listed on the program sheet and the actual tool used in the program.
- Incorrect tool length (blade length) and actual machining depth listed on the program sheet.
- Discrepancies between depth Z-axis values on the program sheet and actual Z-axis measurements.
- Coordinate setting errors during programming.
Improvements:
- Accurately measure the workpiece height and ensure the safety height is above the workpiece.
- Ensure consistency between the tool listed on the program sheet and the actual tool used (preferably use automated or pictorial program sheets).
- Measure the actual machining depth on the workpiece, clearly noting the tool length and blade length on the program sheet (typically, the tool clamping length should be 2-3mm above the workpiece, and the blade clearance should be 0.5-1.0mm).
- Accurately measure the Z-axis on the workpiece and clearly note it on the program sheet (this is usually a manual operation and should be double-checked).
CNC Crash – Operator Errors
Causes:
- Incorrect Z-axis depth tool setting.
- Errors in centering and operation numbers (e.g., not accounting for tool radius in single-side measurements).
- Using the wrong tool (e.g., using a D10 tool instead of a D4).
- Running the wrong program (e.g., running A9.NC instead of A7.NC).
- Incorrect manual operation of the handwheel direction.
- Pressing the wrong direction during manual rapid feed (e.g., pressing X instead of -X).
Improvements:
- Pay attention to the tool setting position on the Z-axis (bottom surface, top surface, split surface, etc.).
- Double-check centering and operation numbers after completion.
- Repeatedly check the tool against the program sheet and program before clamping.
- Run programs sequentially and in order.
- Operators should improve their proficiency with manual machine operations.
- Raise the Z-axis above the workpiece before moving it manually and quickly.
Surface Accuracy in Curved Areas
Causes:
- Unreasonable cutting parameters leading to rough surfaces on curved workpieces.
- Dull tool edges.
- Excessively long tool clamping and blade clearance.
- Poor chip removal, air blowing, and oil flushing.
- Programming of the cutting path (consider using climb milling where possible).
- Burrs on the workpiece.
Improvements:
- Set reasonable cutting parameters, tolerances, allowances, and feed speeds.
- Operators should regularly inspect and replace tools as needed.
- Clamp tools as short as possible, minimizing blade clearance.
- Set appropriate cutting, feed speeds, and tool types (flat, R, and ball nose cutters).
- Workpiece burrs are directly related to the machine, tool, and cutting path. Understanding the machine’s capabilities is crucial for re-cutting burr edges.


One Response
Simply desire to say your article is as surprising. The clearness in your post is simply excellent and i could assume you are an expert on this subject. Fine with your permission let me to grab your feed to keep up to date with forthcoming post. Thanks a million and please carry on the gratifying work.