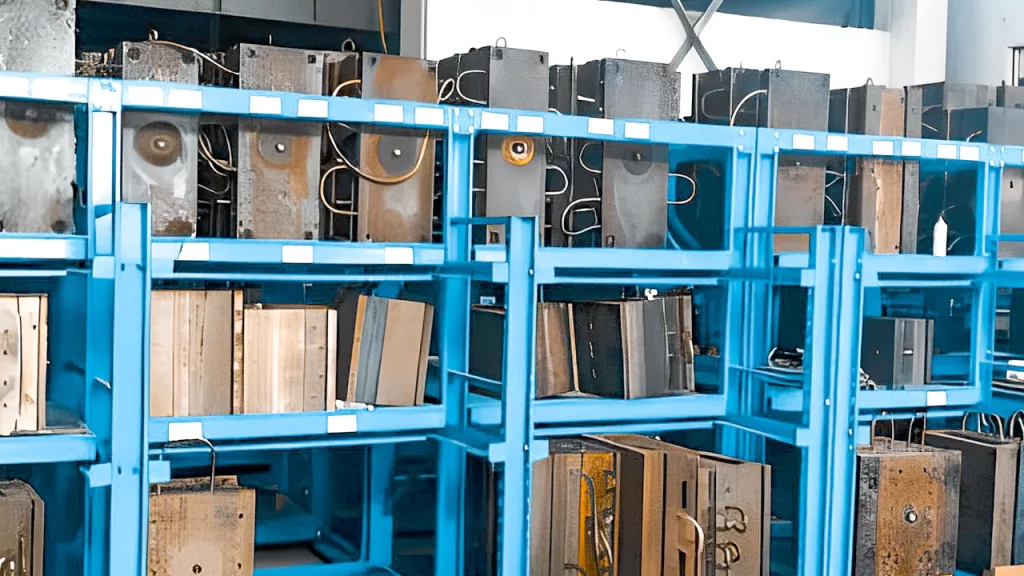
In today’s ever-growing manufacturing industry, moldes industriales are widely used in various manufacturing processes, including plastic injection molding, fundición a presión, and sheet metal forming. These molds help shape raw materials into desired products.
Now in the modern-day manufacturing world comprising various advanced machines and tools, industrial molds are some common options many manufacturers and companies opt for. Are you also considering the same? But which industrial mold is ideal for your manufacturing demands?
With the different types of industrial molds available today, each with its unique structure, design, and manufacturing method – it’s important to understand their working and design process. In this article, we will help you explore the design process of various industrial molds. So without further ado, let’s dive into the details.
Different Types of Industrial Molds and Their Design Process:
Moldes de inyección
The first common industrial mold type we will discuss is injection mold. Injection molds are the most widely used molds in the plastics industry. The following steps are involved in injection mold design:
Product Designing:
The first step in injection mold design is to create a product design or 3D model of the part to be produced. This model will create a mold design that can produce the part accurately and efficiently.
Mold Base Selecting:
Once the product design is complete, the next step is to select a mold base. The mold base provides the foundation for the mold and typically includes the core and cavity inserts, as well as the mold plates and pasadores eyectores. The mold base must be selected based on the size, complexity, and production requirements of the part being produced.
Core and Cavity Insert Designing:
The core and cavity inserts are the most critical components of an injection mold. They must be designed to accurately replicate the geometry of the product design and ensure that the part is produced with the desired dimensional accuracy and surface finish. Core and cavity inserts are typically designed using CAD software and machined from high-quality tool steel using Máquinas CNC.
Runner and Gating System Designing:
En corredor y sistema de compuerta delivers molten plastic to the mold cavity. The runner system typically includes sprues, runners, and gates and must be designed to distribute the plastic evenly throughout the cavity. The gating system controls plastic flow into the mold cavity and must be designed to minimize turbulence and reduce the risk of defects such as weld lines and air traps.
Cooling system Designing:
The cooling system is critical to the success of an injection mold. It must be designed to efficiently remove heat from the mold and maintain a consistent temperature throughout the cavity. The cooling system typically includes water channels machined into the mold plates, core, and cavity inserts.
Ejection System Designing:
The ejection system removes the part from the mold once it has cooled and solidified. The ejection system typically includes ejector pins, which push the part out of the mold, and ejector plates, which provide a surface for the pins to act against.
Assembly and Testing:
After all the mold’s parts have been developed and produced, the next step in injection mold design is to assemble and test the mold. The quality and dimensional precision of the produced pieces depends on the results of the mold’s testing. Little production runs or test components can be made to ensure the mold performs as expected during this testing phase.
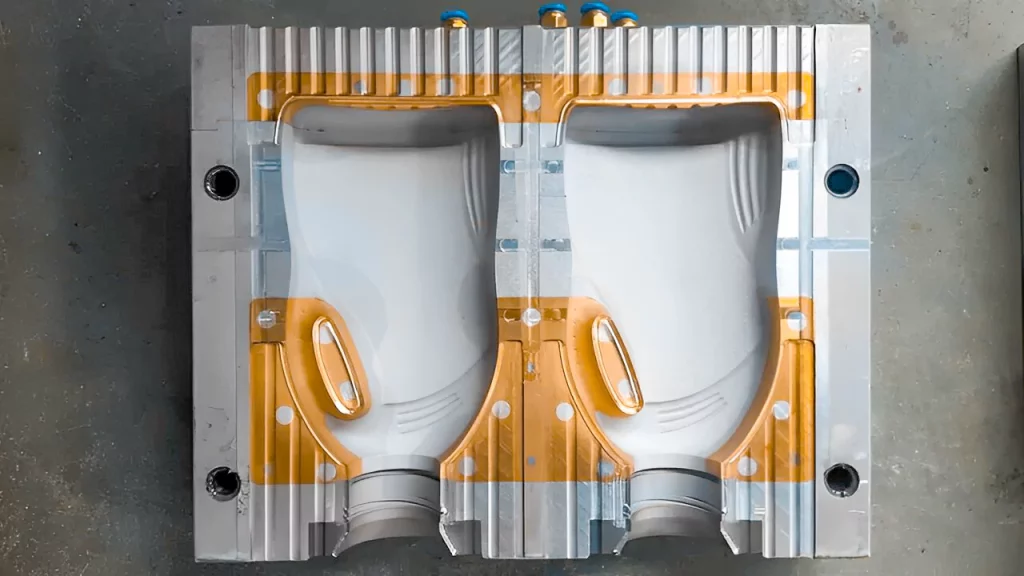
Blow Molds:
Blow molds manufacture plastic containers, such as bottles and jars. Such molds are typically made of aluminum or steel and are designed to form a hollow part. The blow mold design method typically involves the following steps:
Product Designing:
Blow mold design typically requires, first and foremost, an in-depth familiarity with the product that will be made with the mold. The product’s form, dimensions, and construction all fall under this category.
Mold Designing:
Once the product design has been finalized, the next step is to design the blow mold. This includes creating 2D or 3D drawings of the mold, determining the number of cavities needed, and deciding on the type of mold (single or multi-cavity).
Material Selecting:
The material used to make the blow mold is an important factor in the design process. The material must be able to withstand the heat and pressure of the blow molding process, as well as be durable enough to withstand repeated use.
Proceso de fabricación:
The manufacturing process for blow molds, after you complete the blow mold design, typically involves CNC machining, which allows for precise cuts and shapes to be made in the mold. Other processes, such as EDM (electrical discharge machining) or laser cutting, may also be used.
Testing and Validation of Mold:
Lastly, after the mold has been created, it must be tested and verified to guarantee it can successfully create the final product. Dimensional, quality, and cycle time tests are all included.
Compression Molds
Another popular type of industrial mold used today is compression mold. Compression molds create composite parts using thermoset materials like fiberglass or carbon fiber. The compression mold design process includes the following:
Designing the Product:
Firstly, creating a product design is the initial stage in compression mold design. The design should consider the product’s function, the material it will be made of, and any standards or regulations it must adhere to.
Designing the Mold:
The mold design process can begin after finishing the product design. The mold designer will consider the product’s dimensions and shape, the mold’s intended material, and any necessary features or details.
Designing the Mold Base:
The mold’s basis is the mold base, which is commonly constructed from steel or aluminum. The mold’s dimensions and shape, as well as the location of any cooling or heating channels, must be factored into the design of the mold base.
Mold Cavity and Core Designing:
The mold cavity and core are the components that shape the final product. The mold designer must carefully consider these components’ size, shape, and positioning to ensure that the product is properly formed.
Mold Cooling Designing:
Proper cooling is critical to ensuring the quality of the final product. The mold designer must incorporate cooling channels into the mold design to ensure that the product cools evenly and at the correct rate.
Mold Venting Designing:
Mold venting is necessary to allow air to escape from the mold during molding. The mold designer must incorporate venting channels into the mold design to ensure air can escape without affecting the final product.
Mold Release Designing:
The mold release design ensures that the final product can be removed from the mold without damaging it. The mold designer must consider the type of material to be used and the product’s intended use when designing the mold release.
Mold Manufacturing:
Once the mold design is complete, the mold must be manufactured. This typically involves using CNC machines to create mold components assembled and finished by skilled technicians.
Testing the Mold:
In the end, testing the mold before putting it into production is important to ensure it yields the desired results. Test molds are run to assess product quality, cycle time, and whether or not changes need to be made to the mold design.
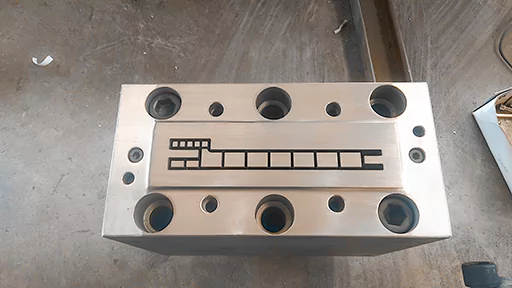
Extrusion Molds
Extrusion molds produce plastic profiles, such as pipes and tubing. The extrusion mold design process includes the following:
Selección de materiales:
The first step in the extrusion mold design process is to select the material that will be used for extrusion. The material’s properties, such as its melting point, viscosity, and thermal conductivity, will determine the design of the mold.
Designing the Profile:
The next step in the extrusion mold design process is to design the profile of the extruded product. This involves determining the die’s shape and size and the opening through which the material will be extruded.
Die Designing:
The die is designed based on the profile design. The die consists of a metal block with a hole in it that is shaped to the desired profile. The hole is called the “die cavity.”
Die Construction:
The die is constructed once the die design is finalized. The die is usually made of steel or another metal that can withstand the high temperatures and pressures of the extrusion process.
Die Polishing:
After the die is constructed, it is polished to ensure the surface is smooth and free of imperfections. Eventually, imperfections in the die surface can cause defects in the extruded product.
Assembling the Materials:
In this phase, the extrusion machine, which consists of a barrel and a screw, is put together, and the die is installed so that the material may be forced through it.
Testing:
Lastly, after the die has been put together, it is checked to ensure it functions correctly. The quality of the extruded product is controlled by varying the extrusion conditions of temperature, pressure, and extrusion rate.
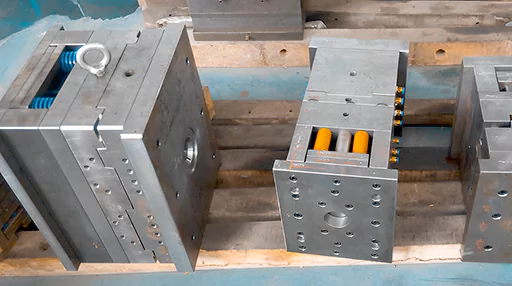
Moldes de fundición a presión
Die-casting molds are the types of industrial molds used to produce metal parts with a high degree of accuracy and consistency. Here is a step-by-step process of die-casting mold design:
Identifying the Product Requirements:
Before starting the die-casting industrial mold design, it is important to identify the requirements such as size, shape, tolerance, material, and the number of cavities required. This will help in determining the size and complexity of the mold.
Determining the Mold Structure:
The mold structure should be designed to withstand the high pressure and temperature of the molten metal during the casting process. The mold should have a gating system, cooling system, ejector system, and parting line.
Creating a 3D Model:
Using Computer-Aided Design (CAD) software, create a 3D model of the die-casting mold. The model should include all the necessary components, such as the cavity, core, ejector pins, gating system, and cooling channels.
Analyzing the Mold Design:
Conduct a mold flow analysis to ensure the mold design is efficient and optimized for the casting process. This will help identify design issues such as weld lines, air traps, and shrinkage.
Fabricating the Mold:
Once the die-casting mold design is finalized, the mold can be fabricated using conventional machining or advanced techniques such as Electrical Discharge Machining (EDM) or high-speed milling.
Testing the Mold:
Before using the mold for production, it should be tested to ensure it can produce parts to the desired quality and specifications. This involves running the mold through several trials to determine flashing, porosity, or dimensional accuracy issues.
Optimizing the Mold Design:
Based on the testing results, the die-casting mold design can be optimized for better performance and efficiency. This may involve changing the gating system, cooling channels, or mold material.
Sheet Metal Forming Molds
Sheet metal forming molds create complex shapes out of thin metal sheets. The sheet metal forming mold design process involves:
Selecting the Material:
Choosing the right material for the mold is the first stage of the sheet metal forming mold design process. The material must be robust enough to endure the intense heat and pressure of the forming procedure. Steel, aluminum, and brass are common choices for these mold materials.
Mold Designing:
Next, in sheet metal forming mold design, a mold must be designed following the parameters of the final product. Making a 3D model of the mold with CAD software is a crucial step in this process. Mold design considerations include sheet metal size and shape, desired product thickness and texture, and necessary features like holes and cuts.
Tooling Designing:
The tooling design can begin after the mold design is finalized. It involves creating the tooling required to manufacture the mold, including punches, dies, and other specialized tools. The tooling should work seamlessly with the mold design and ensure the highest accuracy and precision during forming.
Prototype Production:
Once the mold and tooling designs are complete, a prototype of the final product can be produced using the mold. This is important to ensure the mold functions properly and the product meets the desired specifications.
Mold Fabricating:
The mold fabrication process can begin after the prototype has been tested and approved. This involves machining the mold from the selected material using specialized equipment such as CNC machines or EDM machines. The mold should be machined to the exact specifications of the CAD model to ensure the highest accuracy and consistency.
Mold Assembling:
Assembling the mold with the tooling is the final step in making a completely functional sheet metal forming mold after the mold has been constructed. To finish and prepare the mold for production, extra machining, welding, or other special operations may be required during assembly.
Mold Testing:
Lastly, the sheet metal forming mold design must be examined before it is put into production to verify it is leak-free and will yield the expected results. Further prototypes or test runs may be necessary to guarantee the mold is functioning properly and producing high-quality goods throughout testing.
Conclusión:
Once you understand the different moldes industriales and the industrial mold design methods, it’s easier to evaluate which mold is ideal for your production needs.
For more details and queries, feel free to contact our professionals at Prototool.com.


