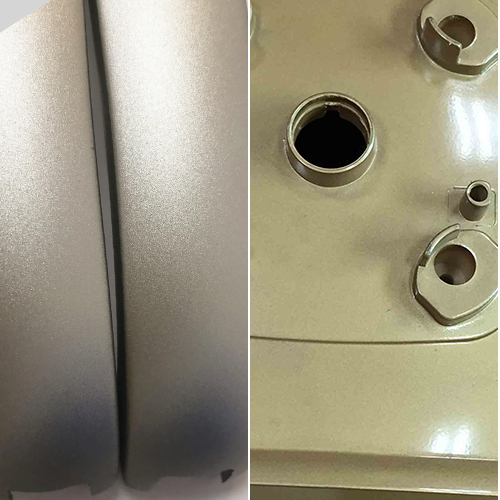
Most plastic components call for extra processing to reach their final state. Many of these operations are performed to boost the aesthetic quality of the final product. One of these methods is the use of mold texture. The surface quality of your product is extremely important to its overall aesthetic appeal. It accomplishes both practical and aesthetically pleasing goals as a consequence. The texture of your mold is a major factor you need to consider.
It’s what makes your product and how well it works. When addressing the texture of molds, producers use specialized language. Therefore, to engage you with the particulars of the surface textures of molds, we have compiled this guide. Let’s begin by discussing the relevance of surface texture.
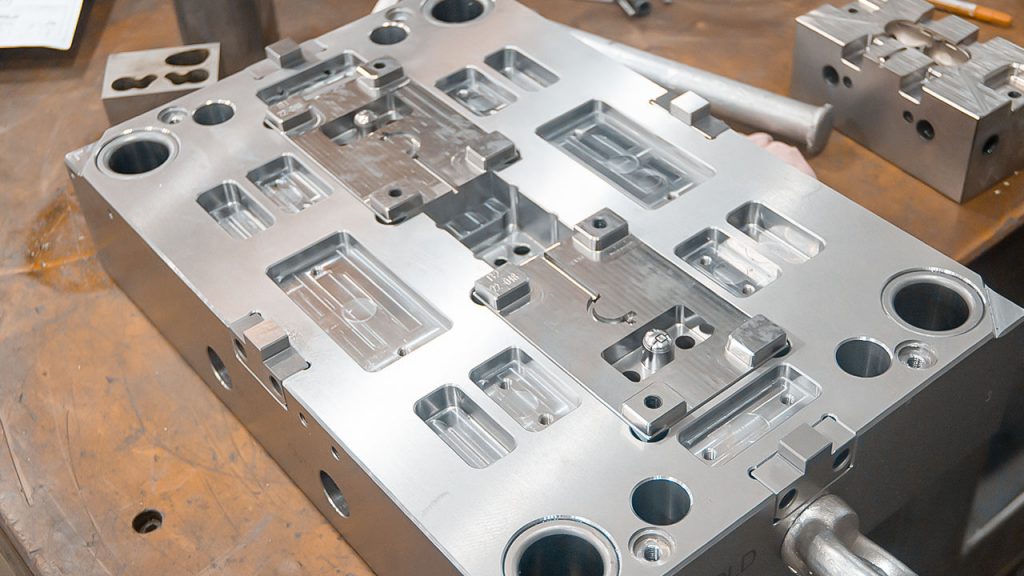
Surface Texture
When discussing the process of manufacturing, the three-dimensional topography of a material is referred to as that substance’s surface texture. It isn’t easy to obtain a surface topography that is completely featureless or smooth. As a consequence of this, every surface possesses a different kind of texture. It is possible to see some of these textures as regular patterns with repetitive patterns. Some of them can be somewhat arbitrary, and defining them can be challenging. The term “texturing” refers to the practice of imprinting various surface patterns onto an object.

Mold Surface Texture and Their Benefits
Choosing a mold’s texture is a creative and functional process for the product designer. Even if you take all necessary precautions during production, the result may not always be up to par. The texture of the mold becomes important at this stage. The main benefits of mold texture in surface finishing are as follows:
- Your Products Will Appear Better
Flaws in products may be easily disguised. In other words, the surface texture may be employed to cover up faults like flow lines, sinks, burn scars, and the like.
- Reduced Creases
Creases in fluid motion can be reduced with the use of textural thickness. It helps make the product more durable as well.
- Enhanced Grip
The slide resistance of substances is enhanced by surface roughness. This facilitates an easy understanding of the role. The outcome is improved usability and safety throughout the app. Both the strength and the adherence are enhanced. The part’s surface roughness might help it avoid damage during transport. The area won’t show fingerprints, either. A rough surface amplifies the perception of pain. For any further molding steps, this is essential.
Surface Textures for Molding
· Textures On The Surfaces Of Molds Made By Polishing
Injection molding has strict surface quality criteria, and all score an A. Some even have a glossy finish, making them the best of the best. One uses a rotary tool to buff the top layer of this texture to a shiny finish. Polishing is an irregular and non-deterministic process. In this case, the undulations on the surface are aimless. This ensures that the design is unaffected by the viewer’s perspective.
· Surfaces of Molds with A Textured, Sandpaper-Like Surface
Category B describes this type of injection molding surface textures. The surface texture is being applied in a back-and-forth motion. As a result, you can find some patterned linear scratches. Producers typically label this SPI surface finish as semi-gloss. It’s cheaper to make than polishing, plus it hides any imperfections in the mold perfectly. Sandpaper with grits between 320 and 600 is used to achieve these finishes.
· Mold Texture from Grit Stone to Use in Casting
Grit sanding stones are used to make these textures. The granularity of these stones can be anything from 320 to 600. It’s analogous to sandpaper textures. On the other hand, grit stones provide rougher textures. Additionally, surfaces have less of a flattened appearance. That’s because the stones’ cutting processes are more robust. One of the easiest ways to get rid of tool or mold marks is by using this technique. The matte finish is commonly used for plastic parts.
· Surface Textures of Molds Blasted Finishes Abrasive
Sand or glass beads can be used to apply this texturing method. According to the SPI, this is the same as a Category D finish. Due to the haphazard nature of the blasting and spraying, the resulting finish is uniformly non-directional. When using this mold texture, you may expect your finished product to be flat and drab.
· Surface Textures of Molds Built with EDM
The term “EDM” stands for “Electronic Discharge Machining.” Similar to spark erosion, this method leaves a shiny finish on the surface. The function and nature of the material being processed will dictate the approach taken.
· Molds with a Satin Finish
Another speedy approach that contributes to the production of smooth surfaces is this one. When compared to the blasting method, it lasts far longer. It’s also great to cover imperfections like welds and sink marks on hard materials.
SPI Standard for Surface Finishing
SPI stands for the Society of the Plastics Industry, and the surface characteristics of the components must meet the injection mold texture standards. The guidelines define the aesthetic qualities of plastics. SPI uses 12 grading scales to rate surface finishes. There are four broad categories used to organize the grades. The margin of error that may be accepted varies from one type of perfectionism to another. Categories such as “shiny” and “polished.”
Includes SPI scores of A-1, A-2, and A-3. High gloss coatings are used on molds made of hardened steel for these grades. Diamond powder suspended in oil is commonly used to provide a mirror finish on steel moulds.
This finish is typically more expensive than others because of its shine and smoothness. These are the grades utilized during the production of visors, plastic mirrors, and several other optical components.
Finish: This type of surface finish encompasses the Semi-Gloss SPI grades B-1, B-2, and B-3. Finished items in this group are required to have a semi-gloss sheen. Molders use polished and hardened tool steel moulds to apply the finishing to the final product.
The moulds are polished with ultra-fine grit sandpaper. Some producers also utilize emery cloth. There are no injection moulding defects in the resulting plastic products.
Finish: The package contains grades C-1, C-2, and C-3 of matte SPI. Steel moulds with a dull finish fall under this classification. Later, small stone powders are used to polish the surface.
Marks from tools or the machining process won’t be visible on these finishes. Useful industrial components include those made of die cast or thermoset materials.
Surface Texture
A finish with a textured appearance comes as the last touch. Included in this group are SPI levels D-1, D-2, and D-3. The moulder starts by using fine stone powder to polish the final mould. After that, aluminium oxide is used for dry blasting by the moulder.
There are situations when glass beads might be beneficial as well. The rough texture of the surface makes it very easy to maintain a firm grip. It may also hide fingerprint smudges and imperfections in the injection moulding process.
How to Choose the Most Suitable Standards and determine Injection Mold Texture?
You must be familiar with various injection mold texturing standards. It is challenging to choose the finest plastic injection molding standards. Choosing the texture for injection molding may be aided by a guidebook. Standardized mold textures may be found on the mold technology texture chart.
Individual plaques are also available for purchase. It is available for purchase for mold tech texturing. The level of texture finishes varies. Texture finishing may need the use of an appropriate draught. The draught angle and texturing depth may be determined by the plaque. The sample plaque set includes natural mold surface texture and mold-tech numbers. These mold tech numbers may be used to specify the texture you want.
Factors to Consider When Selecting Mold Surface Textures
Injection molding may produce parts with a range of surface textures, each of which may have advantages and disadvantages. It might have anything to do with the chemical makeup of the item or the quality of the desired piece. The best surface texture for your components can only be decided upon with the help of your design engineer. You may expect improved efficiency and a more aesthetically pleasing result. With these factors in mind, you’ll be able to choose a perfect mould texture for your parts.
- Features That Are both Aesthetically Pleasing and Functionally Advantageous
Texturing a mold has two goals: to make the part look better and ensure it works correctly. Therefore, you need to determine the nature and extent of the aesthetics your product would require. This will help you choose the appropriate level of surface finishing. In addition, the aesthetic must be consistent with the component’s intended use.
- Selecting Materials
There is a wide range of variation amongst materials in both their chemical and physical properties. For instance, the melting point of a material is a critical determinant in its ability to impart a certain surface quality. The result of a finished product can also be affected by additives. Thus, assessing the various materials while choosing surface texture is essential.
- Measurements of Heat and Injection Velocity
The rate at which the liquid is injected into the solid is another factor that plays a role in determining the final surface quality. High injection speeds are required for glossy coatings. This occurs because the mould cavity is filled so quickly. That’s why the finish looks better and fewer flaws show up now.
Conclusion
The functionality and aesthetics of your final product depend on the texture of the mold’s surface. Knowing the various features and surface finish specifications is, therefore, essential. This article explores the many different surface textures found on mold. The factors to consider while deciding on a molded texture are also discussed.
Working with a knowledgeable injection molding maker would be advantageous. Prototool works with you to determine which surface treatment options will produce the greatest results for your products. We understand that the roughness of the plastic’s surface is an important factor in the manufacturing process. In light of this, we are ready to provide a hand as you go through the design process to get the best results possible.

