Have you ever wondered what sets apart the designers who nail injection molded parts? There’s a league of experts who don’t just design parts but ace the game of crafting them for injection molders. As we dive into the world of injection molding, where precision meets production, we’re unraveling a crucial strategy for success: teaming up with your molder.
This isn’t your typical injection molding talk; we’re exploring the sweet spot where design intricacies and molding expertise converge. So, if you’re excited to make the most of your teamwork with the molder to ensure you choose the right materials when finalizing the design and processing of the production of your product, this article is just for you.
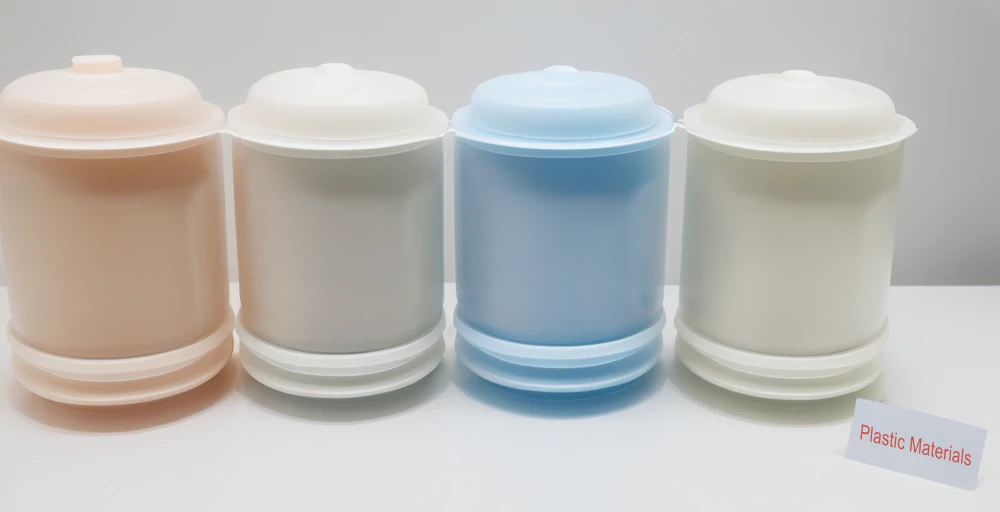
Keep reading to learn all about creating successful product designs with the right production materials.
Key Considerations for Designing High-Quality Molded Parts
Before embarking on the intricate journey of designing molded parts for injection molding, it is paramount to grasp the significance of key considerations. Understanding these considerations lays the groundwork for a collaborative and efficient design process.
By delving into the nuances of material consideration in product design, critical tolerances, sink marks, steel safe areas, and gate locations, designers can navigate potential challenges and optimize their designs for successful production. Now, let’s explore each consideration below in detail:
Material Options and Consequences
To begin with, understand the significance of material consideration to product design in designing premium molded parts. Collaborate effectively with molders by reaching a crucial agreement on specified resins – this forms the bedrock for a seamless production process.
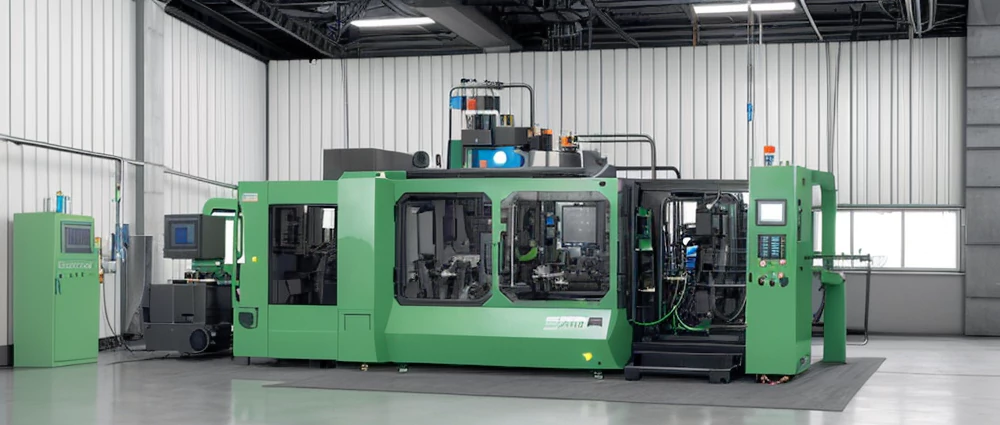
Regarding material properties, align your choices with your molder’s preferences to unlock significant cost savings. If you’re dealing with high-performance resins, navigate challenges like viscosity, glass content, and crystallinity – these factors can significantly impact design precision and production efficiency.
Critical Tolerances
In injection molded part design, mastering tight tolerances requires a strategic blend of collaboration and insight. Understand the factors influencing tolerance variation, such as materials, process control, and tool design.
As a designer, it’s crucial to provide generous tolerances when feasible, but there are instances where tight tolerances become non-negotiable for fit, function, or appearance. You should also uncover practical suggestions for maintaining precise tolerance control, whether it’s through post-machining techniques or strategic gate locations.
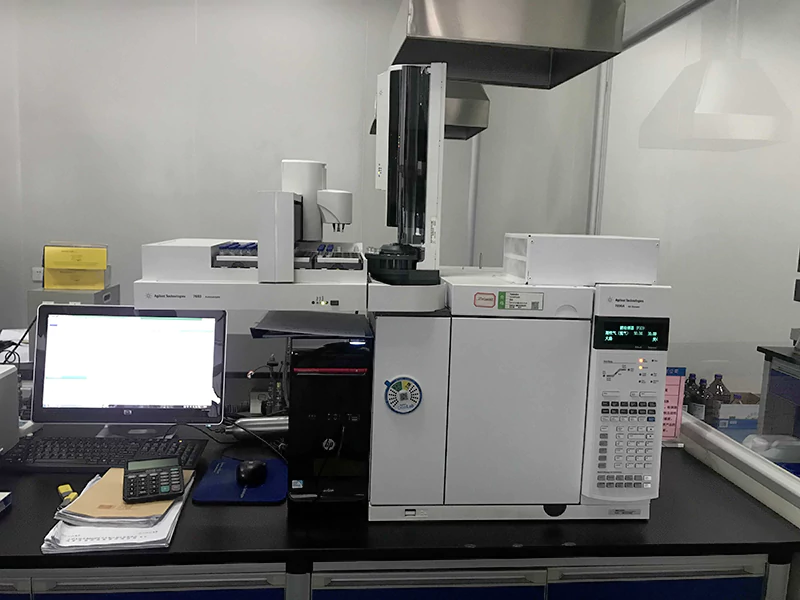
Furthermore, it’s important to understand tolerance management in injection molding for optimal fit, function, and aesthetics.
Sink Marks
Achieving cosmetic perfection in injection molded parts is an ongoing goal, and a key element to grasp is the intricacies of sink marks. Understand the guidelines that dictate maximum wall thickness and their direct impact on the appearance of your design.
Work closely with your molder to tackle challenges stemming from the introduction of ribs, bosses, and draft angles. To anticipate and eliminate sink marks, explore solutions like minimizing draft, adjusting rib heights, and incorporating other design features.
By incorporating these strategies, you’ll enhance the visual appeal of your injection molded parts and achieve the coveted cosmetic perfection.
Steel Safe Areas
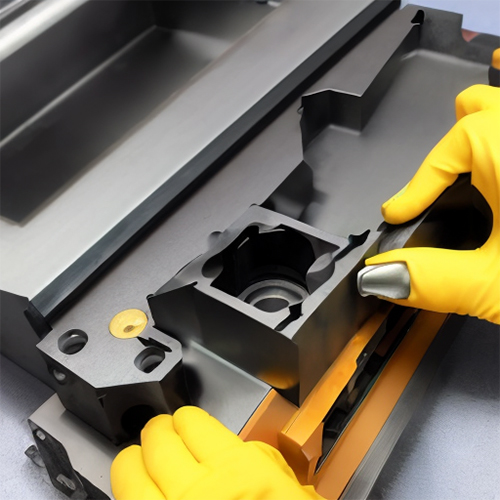
Achieving precision in injection molded part design demands meticulous attention, especially regarding snap fits, alignment features, and interlocking parts. Understand the significance of “steel safe” design features – meticulously planned clearances allowing adjustments after initial test shots.
By incorporating this foresight into your design, you sidestep complications and delays associated with welding. Collaborating closely with your selected molder is important, emphasizing early engagement to minimize revisions, establish critical dimensions, and make informed decisions about steel-safe areas.
This ensures a streamlined design process and paves the way for precision in every injection molded part.
Gate Location
Strategically placing gates in injection molded parts is a make-or-break factor influencing various attributes. Delve into the collaborative process involving designers, molders, and tool makers when specifying gate locations.
Acknowledge the effects that gate placement has on appearance, warpage, tolerances, surface finish and physical properties. Moreover, you can challenge conventional norms and explore the role of mold flow simulations in guiding gate design, ensuring it doesn’t compromise part performance, appearance, or fit.
Tips for Successful Product Design with the Right Materials
Before we get into the details, let’s talk about why these considerations matter to your product design. Crafting a killer design isn’t just about looks. In fact, it’s also about making sure your creation looks good and performs exceptionally.
We’re talking about understanding material properties, being cost-savvy without compromising quality, ensuring your product can endure, and, of course, making it visually appealing. And hey, being eco-conscious is pretty cool too.
Now, let’s dive into key strategies to help you ace the material consideration in product design:
Identify Key Material Properties and How They Shape Your Design
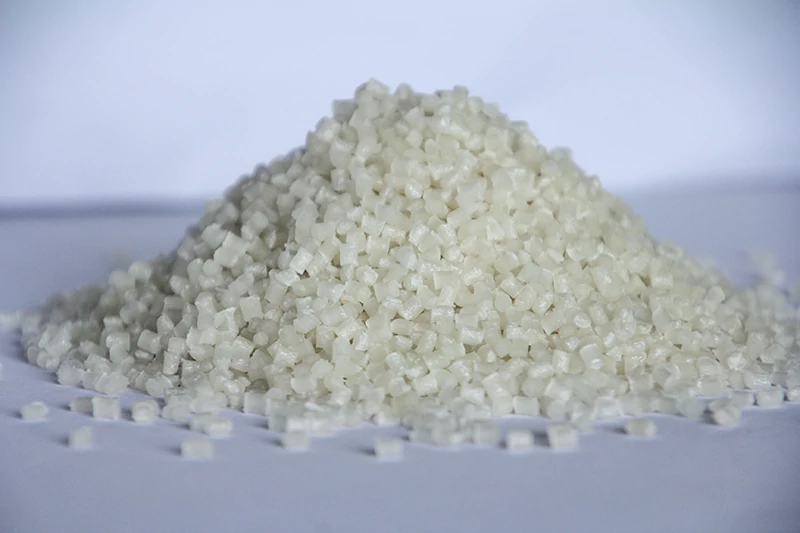
Understanding material properties is like having the blueprint for effective product design. This strategy deeply delves into the intricacies of key material properties such as tensile strength, ductility, elasticity, and thermal conductivity.
This will help you learn how these properties shape your design process and influence your final masterpiece’s overall performance and durability.
Examine the Cost Efficiency of Different Materials
While your creative spark fuels your design, this strategy gears you up for the practical side – cost efficiency. Take a guided tour through a comprehensive analysis of the cost efficiency of various materials.
Furthermore, it’s important to delve not only into initial costs but also into long-term considerations, arming yourself with the knowledge to make decisions that elevate product quality and sustainability.
Evaluate the Strength and Durability of Materials
As a designer, strength and durability are your trusty sidekicks. This strategy breaks down the evaluation process, walking you through tests for tensile and compressive strength, impact resistance, and fatigue.
Don’t forget to gain insights into the significance of understanding material strength, empowering you to select materials that endure and excel in diverse applications.
Consider How Materials Respond to Environmental Conditions
For you, crafting environmentally resilient designs is crucial. This strategy sheds light on how materials respond to specific environmental conditions. Choose materials that ensure longevity and functionality if your creation faces scorching temperatures or relentless UV radiation.
Once that’s done, you can seamlessly incorporate environmental considerations into your design process for end products that stand the test of time.
Analyze the Aesthetic Qualities of Materials
Beyond functionality, aesthetics are your playground. This strategy explores the impact of texture, color, finish, and pattern on consumer perceptions.
It is also important to understand how aesthetic qualities influence your material consideration in product design, shaping the visual identity of your creation. From matte finishes to reflective surfaces, become a master in creating visually appealing and harmonious designs.
Investigate the Sustainability of Materials
As a designer, sustainability isn’t just a buzzword for you. Instead, it’s a design principle. This strategy emphasizes the importance of investigating the sustainability of materials.
Make sure to scrutinize material sourcing, production processes, and end-of-life disposal to make choices that align seamlessly with your environmental consciousness. You should also explore the versatility of sustainable materials, like bamboo, and play your part in creating a more eco-friendly design landscape.
Injection Molding Design Guide: Material Selection
Ultimately, choosing the right materials is a critical aspect of injection molding, influencing everything from product durability to cost-effectiveness.
In this article section, we’ll walk you through key considerations for material selection in product design, ensuring that your injection molding endeavors result in successful and efficient outcomes.
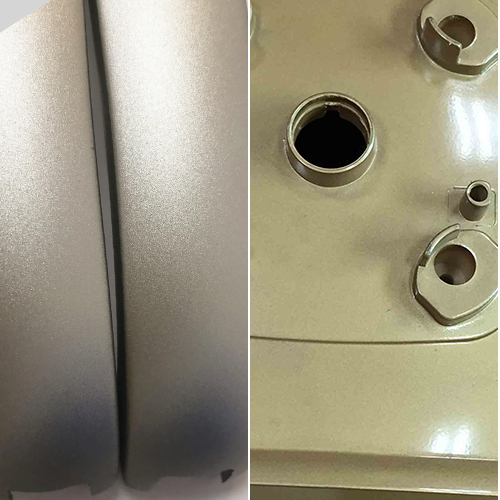
- Appearance and Texture of Injection Molding Parts: Extend it way beyond functional – ensure the appearance and feel of your injection-molded parts. Learn how different plastics affect how surfaces look and feel. This matters a lot, especially when you want your products not just to work well but also look good.
- Temperature Range and Cost Considerations: Temperature is a big deal in injection molding. Understand how to choose materials that can handle the right temperature. Plus, we’ll talk about costs – how to pick materials that fit your budget but still do the job. It’s all about finding that sweet spot between what works, lasts, and doesn’t break the bank.
- Environmental Factors and Use Environment: Consider where your injection-molded parts will be used. Whether dealing with heat or tough conditions, the right material consideration in product design means your products can handle it. Get a grip on what keeps your products lasting and strong in different situations.
Injection Molding Design Guide: Part Design
Making great products with injection molding starts with smart design. This guide zooms in on how to create parts that work seamlessly with the injection molding process. From nailing down the basics of wall thickness to choosing materials that fit the bill, these tips help you design parts that rock in injection molding.
- Wall Thickness Basics for Injection Molded Parts: What is the core of creating parts in injection molding? Knowing the basics of how thick your walls should be. To figure out the right thickness for different materials, check out the suggestions in the table below:
| MATERIAL | RECOMMENDED WALL THICKNESS |
| ABS | 0.045 in – 0.140 in |
| Acetal | 0.030 in – 0.120 in |
| Acrylic | 0.025 in – 0.500 in |
| Liquid Crystal Polymer | 0.030 in – 0.120 in |
| Long-Fiber Reinforced Plastics | 0.075 in – 1.000 in |
| Nylon | 0.030 in – 0.115 in |
| Polycarbonate | 0.040 in – 0.150 in |
| Polyester | 0.025 in – 0.125 in |
| Polyethylene | 0.030 in – 0.200 in |
| Polyphenylene Sulfide | 0.020 in – 0.180 in |
| Polypropylene | 0.025 in – 0.150 in |
| Polystyrene | 0.035 in – 0.150 in |
| Polyurethane | 0.080 in – 0.750 in |
This comprehensive material chart serves as a practical tool, offering precise recommendations for wall thickness based on the material selected, ensuring a smooth and efficient injection molding process.
Conclusion
Mastering the art of material selection in product design is essential for successful injection molding. By following these methods, product designers can find the right mix of practicality, good looks, and affordability. Stay tuned for more insights and guidelines to elevate your injection molding game.
Still struggling with the design process? Don’t worry! Now, you can elevate your injection molding game, consider partnering with Prototool, a trusted and professional CNC manufacturing and injection molding service provider.
Our expertise aligns seamlessly with the strategies discussed, ensuring your material selection in product design and designing process is executed with precision, delivering products that excel in functionality, aesthetics, and cost-effectiveness. Contact our professionals today!


2 Responses
I just could not depart your web site prior to suggesting that I really loved the usual info an individual supply in your visitors Is gonna be back regularly to check up on new posts
Your point of view caught my eye and was very interesting. Thanks. I have a question for you.